Real I Build Energy project • Phase 1

Whole-House Rewiring in an Older Home

This older home had existing outlets and switches that did not all have proper grounding. Tracing the old electrical system circuit by circuit—identifying which devices were grounded and determining where each circuit came from and where it went—would have required significant diagnostic time.

After the options were discussed with the client, the project moved forward as a whole-house rewiring job rather than continuing with selective tracing and repairs. Phase 1 is now complete. The finish electrical work will follow after the walls and ceilings are repaired and painted.

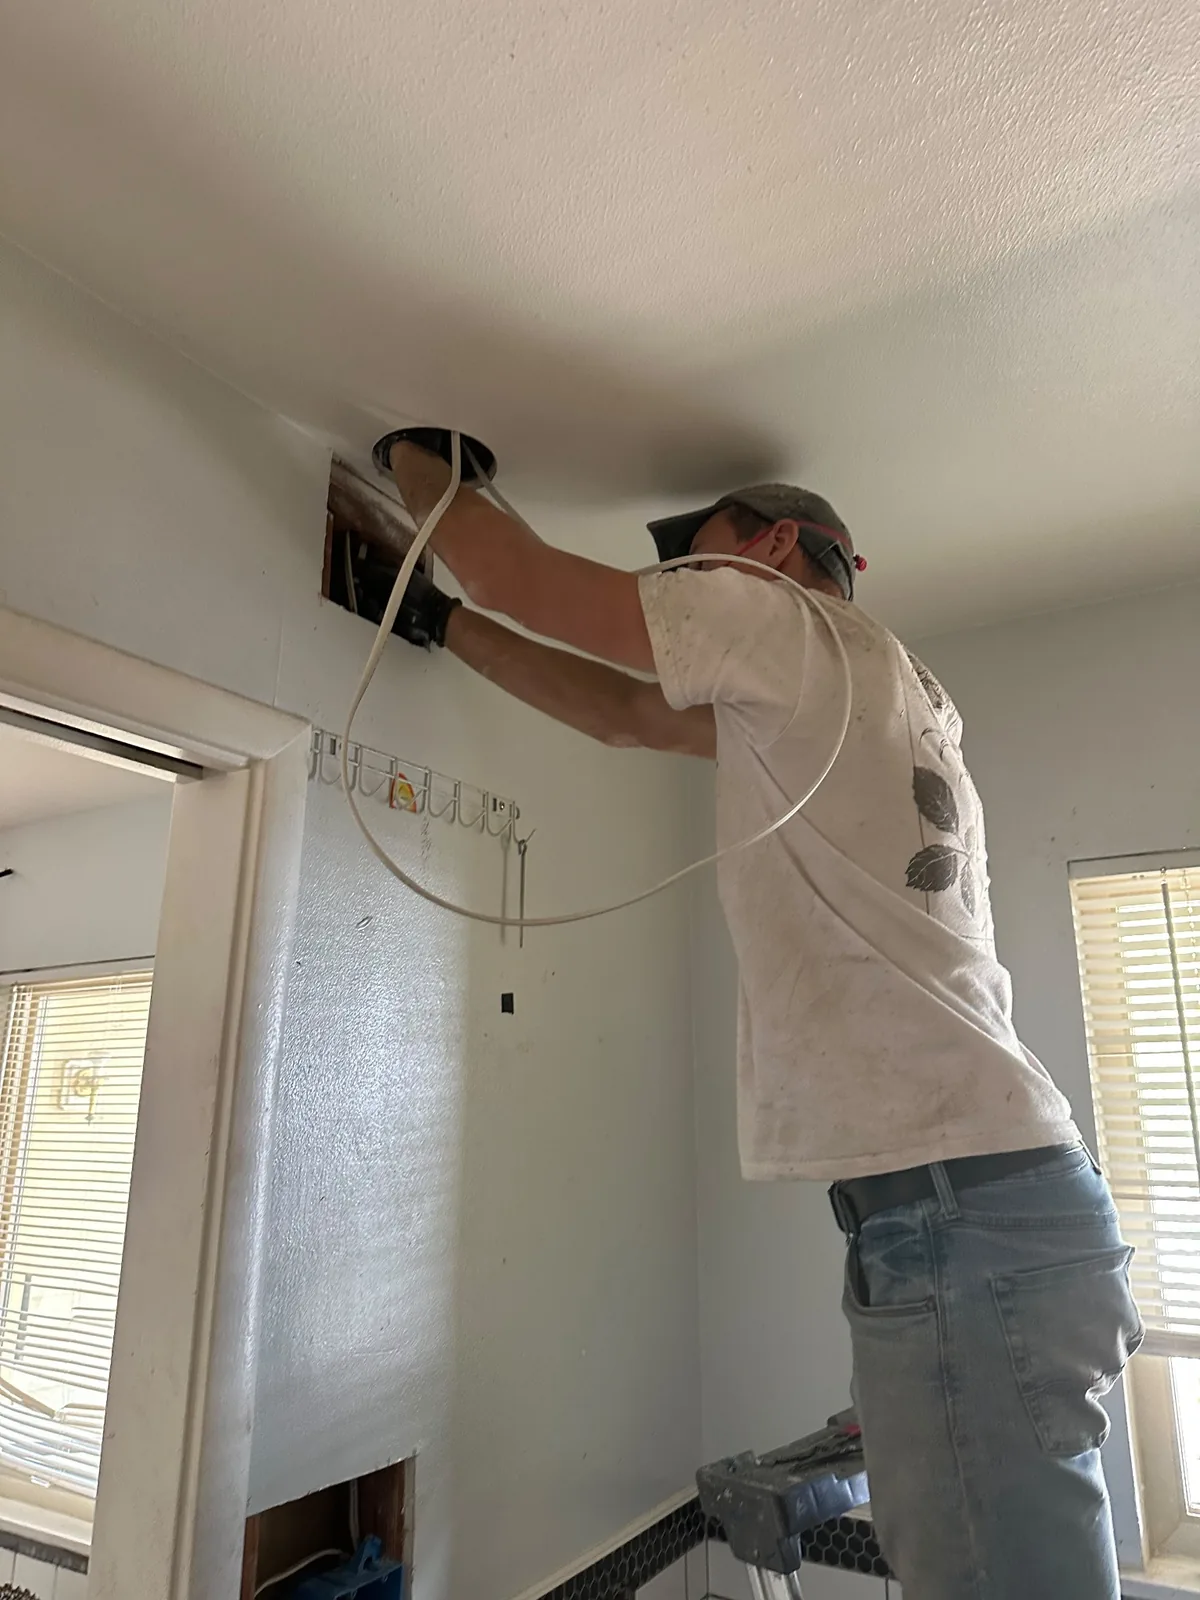
Electrician pulling new electrical wiring through a ceiling during a whole-house rewiring project
Project snapshot

Phase 1: New Wiring Rough-In

ProjectWhole-House Electrical Rewiring
PropertyOlder residential home
PhasePhase 1 — New Wiring Rough-In
Duration4 working days
Phase 1 LaborApproximately $5,000
Current status: Phase 1 is complete. Final outlets, switches and light fixtures will be installed after wall and ceiling repair and painting. The overall electrical project is not being presented as complete yet.
Project decision

Why the Wiring Was Replaced

The original issue was not simply one failed outlet. Some existing outlets and switches did not have proper grounding, and the old circuit paths were not immediately clear. One option was to spend substantial diagnostic time checking devices individually, tracing circuits and determining how power moved through the existing wiring.

That diagnostic approach can be appropriate on many projects. Here, however, the client and electrician discussed the alternatives and chose a broader solution: replace the electrical wiring throughout the house instead of continuing to trace and selectively repair the old system.

For homeowners comparing routing methods and access strategies, our separate whole-house rewiring planning guide explains attic, crawlspace, wall-fishing and selective-opening approaches in more detail.
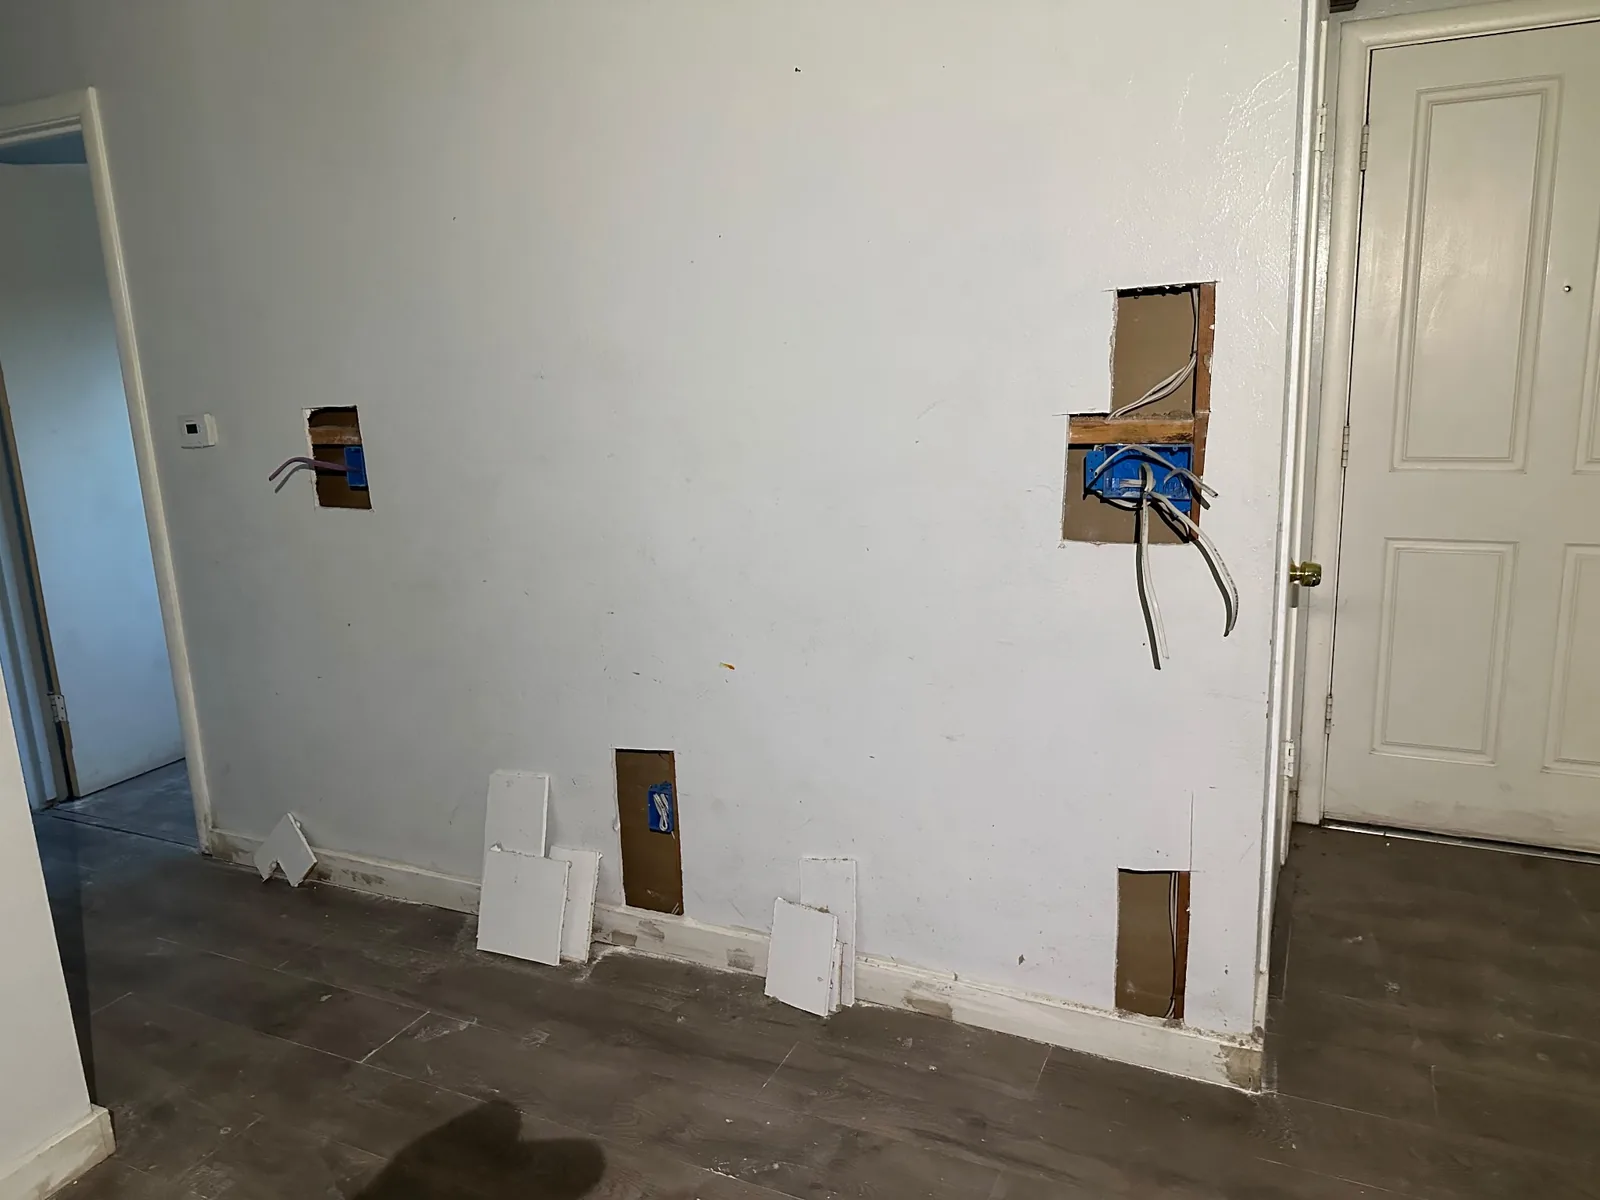
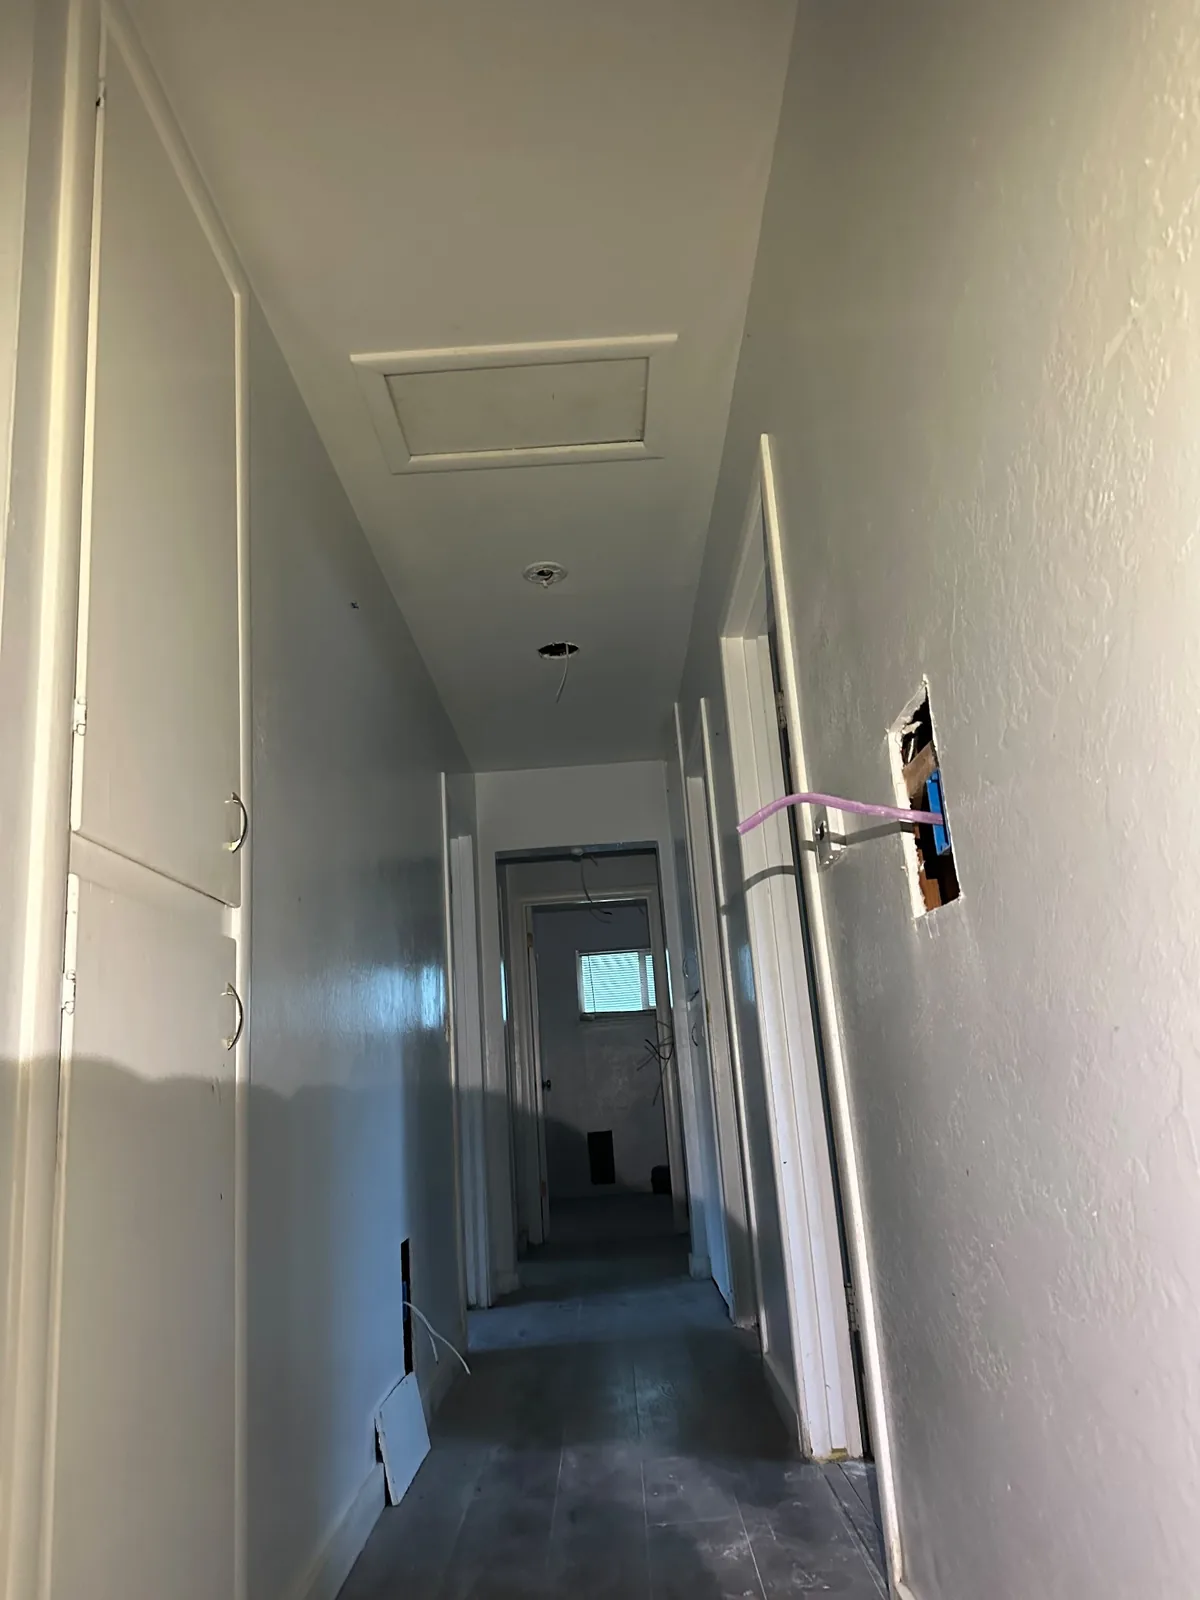
Multiple electrical boxes and new wiring exposed during whole-house rewiring
Open wall areas and multiple electrical boxes during the first project phase.
Days 1–2

Preparing the House

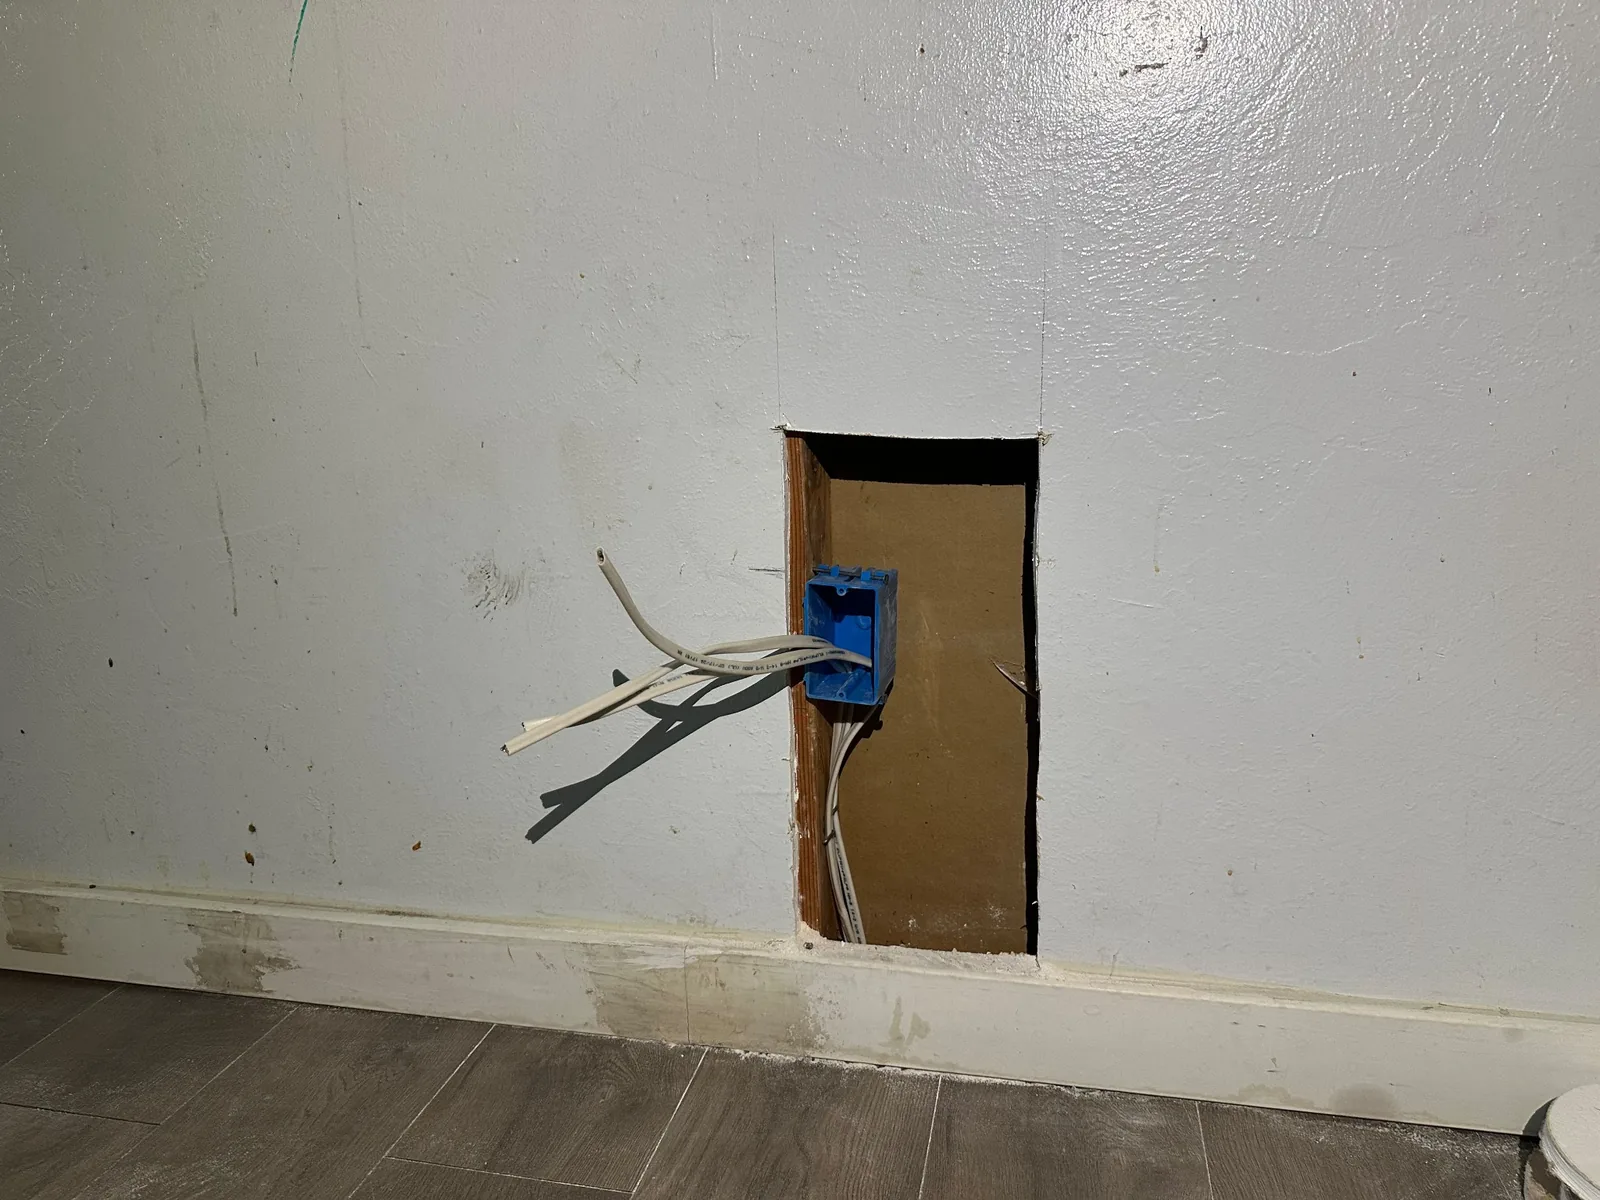
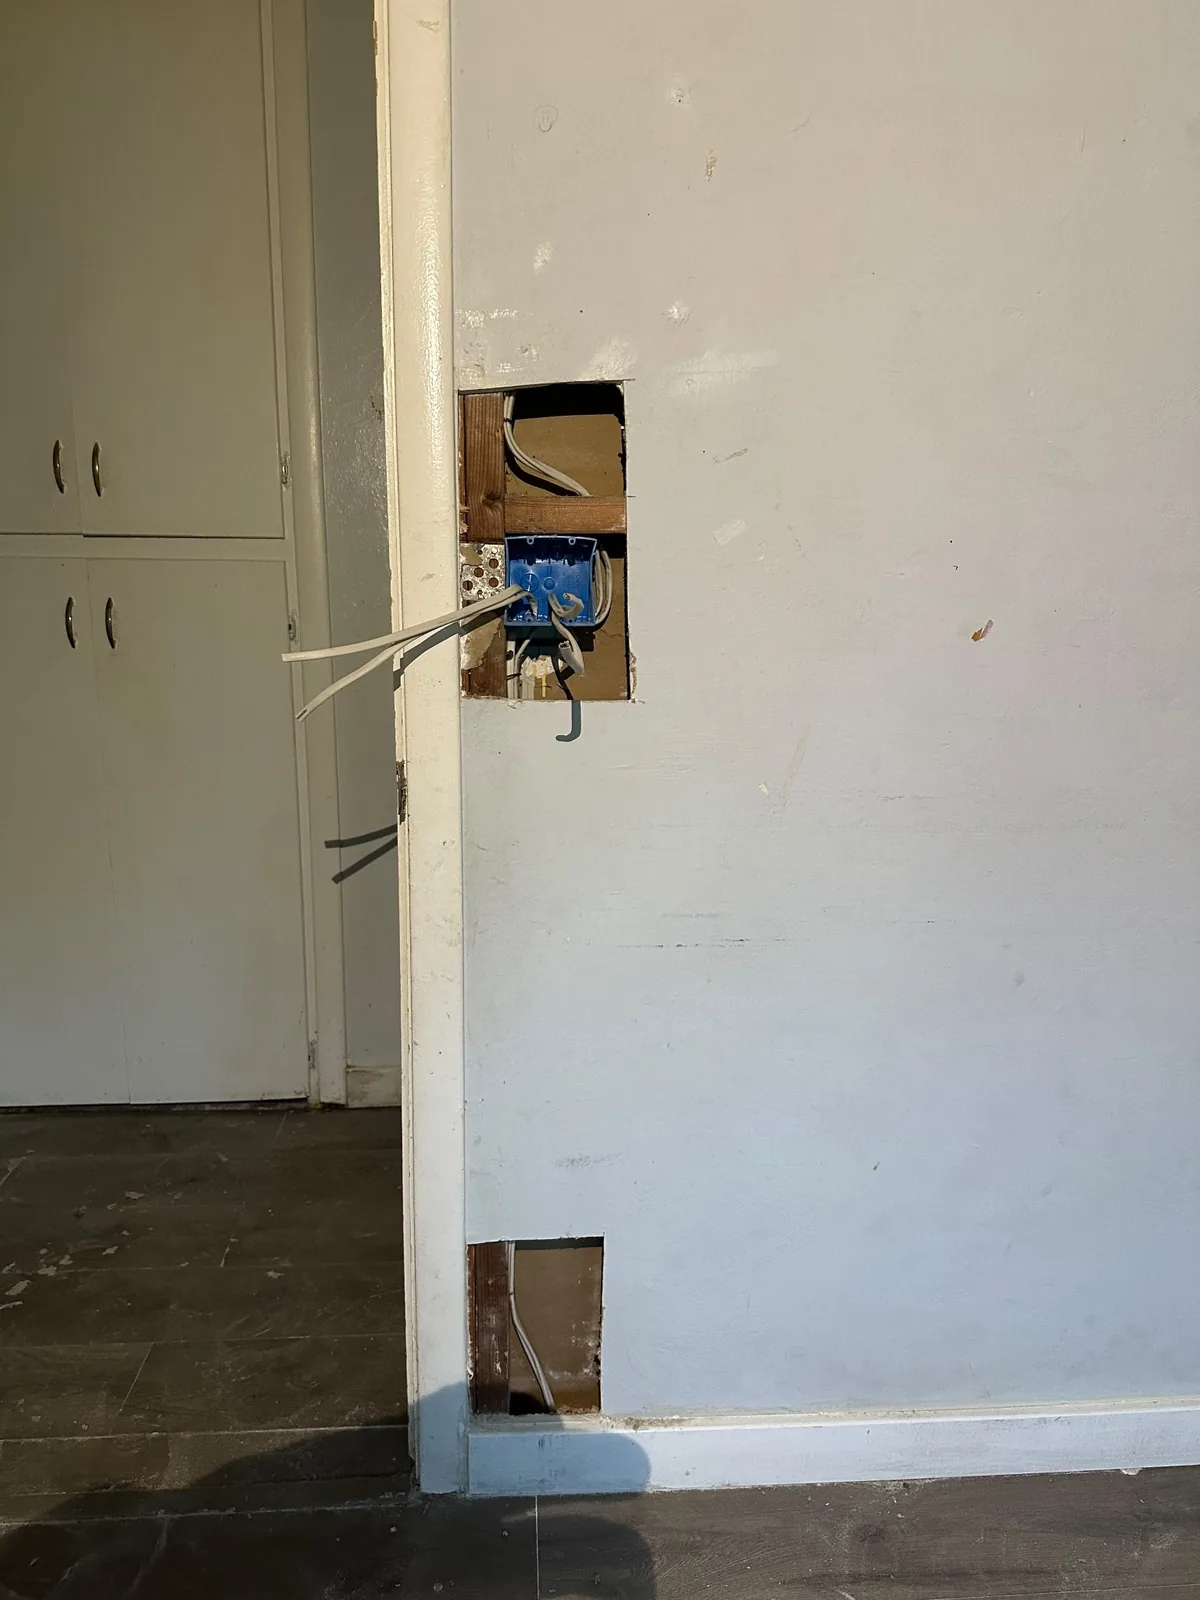
The first two working days focused on access. One person prepared openings in the walls, removed old outlets and removed portions of the old wiring where required. The purpose of these openings was to create practical routes and access points for the new electrical work—not to remove entire finished walls unnecessarily.

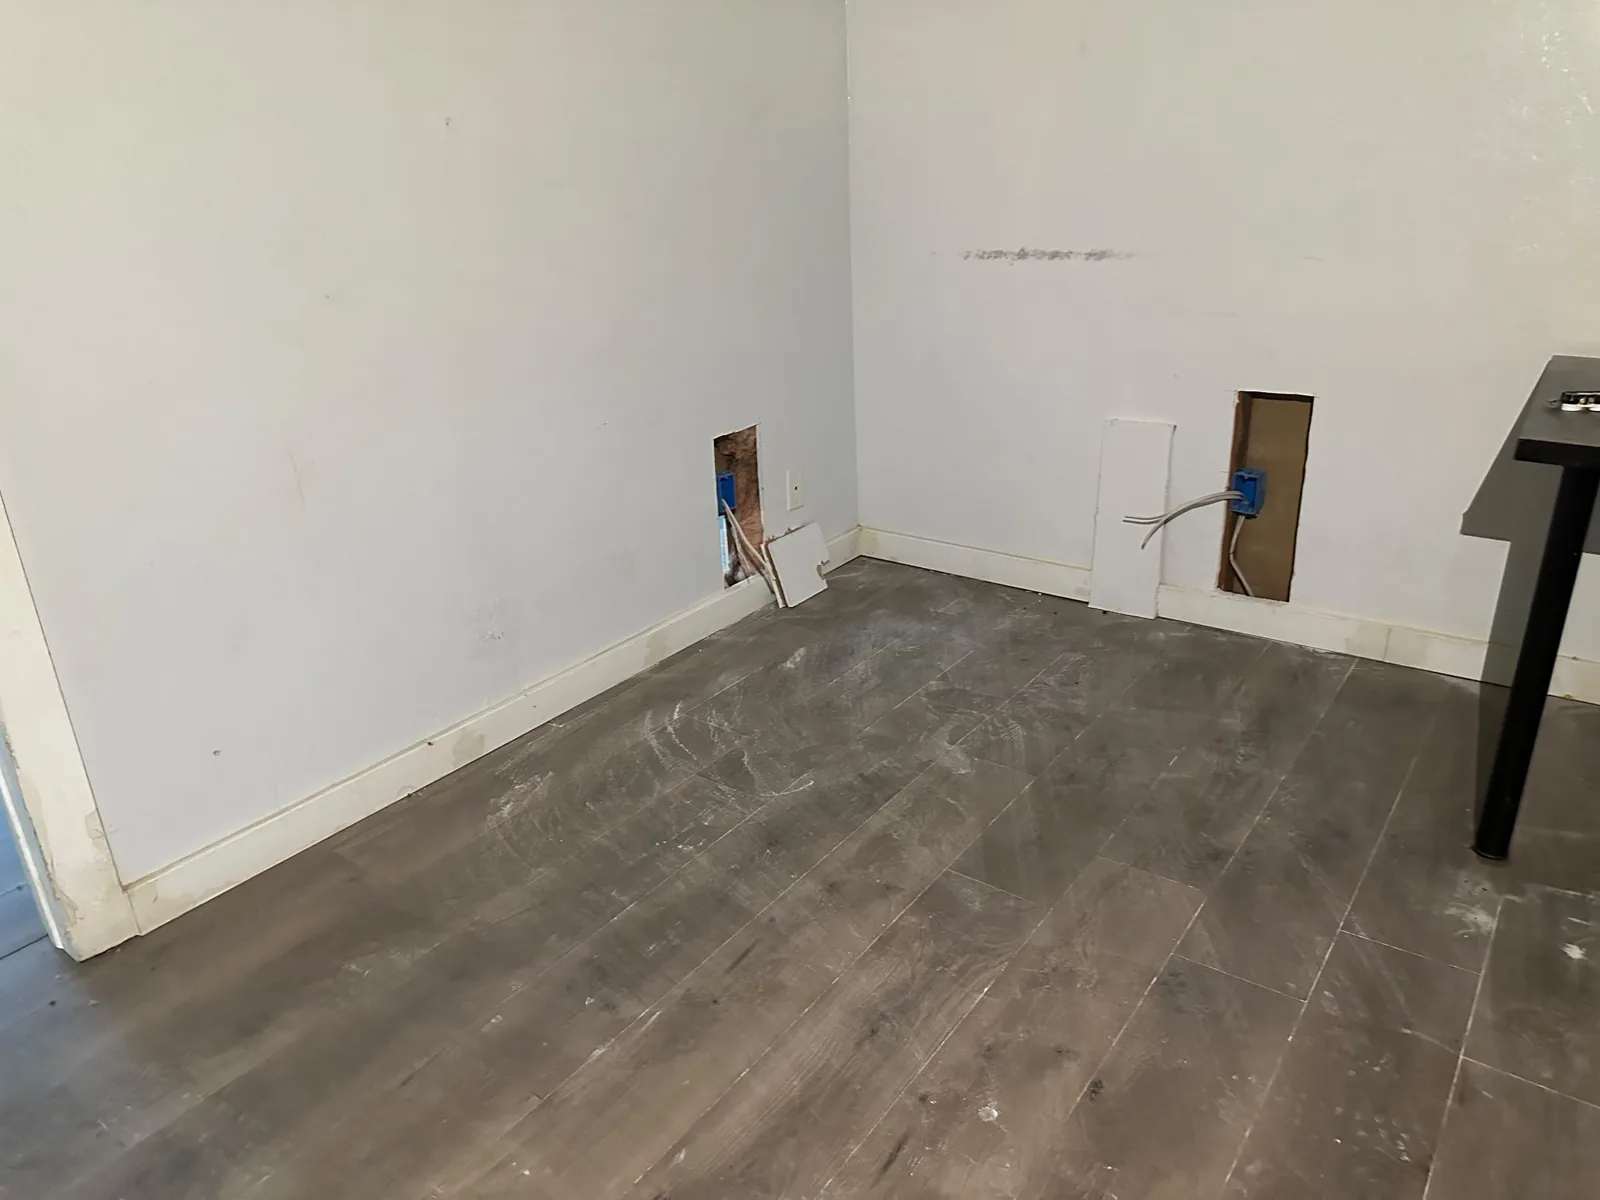
Room prepared with wall openings for new electrical wiring and outlets
Wall openings prepared for new wiring routes and device locations.
Wall opening with electrical box and new wiring during residential rewiring
Electrical box and wiring visible through a selective wall opening.
Days 3–4

Running the New Wiring

During the next two working days, new electrical wiring was routed through the crawl space and attic and brought to the new electrical boxes and openings. This established the new wiring routes while the walls were still open and accessible for rough-in work.

Work sequencing

Why the Project Was Split Into Two Stages

Phase 1 stops after the new wiring rough-in so the wall and ceiling repair and painting can happen before the final electrical devices are installed. This keeps the sequence practical: access work and wiring first, finish repair next, then outlets, switches and light fixtures.

The next phase will include the installation and finish work for those devices and fixtures. No claim is being made here about final inspection approval or completion of the entire electrical project, because that stage has not happened yet.

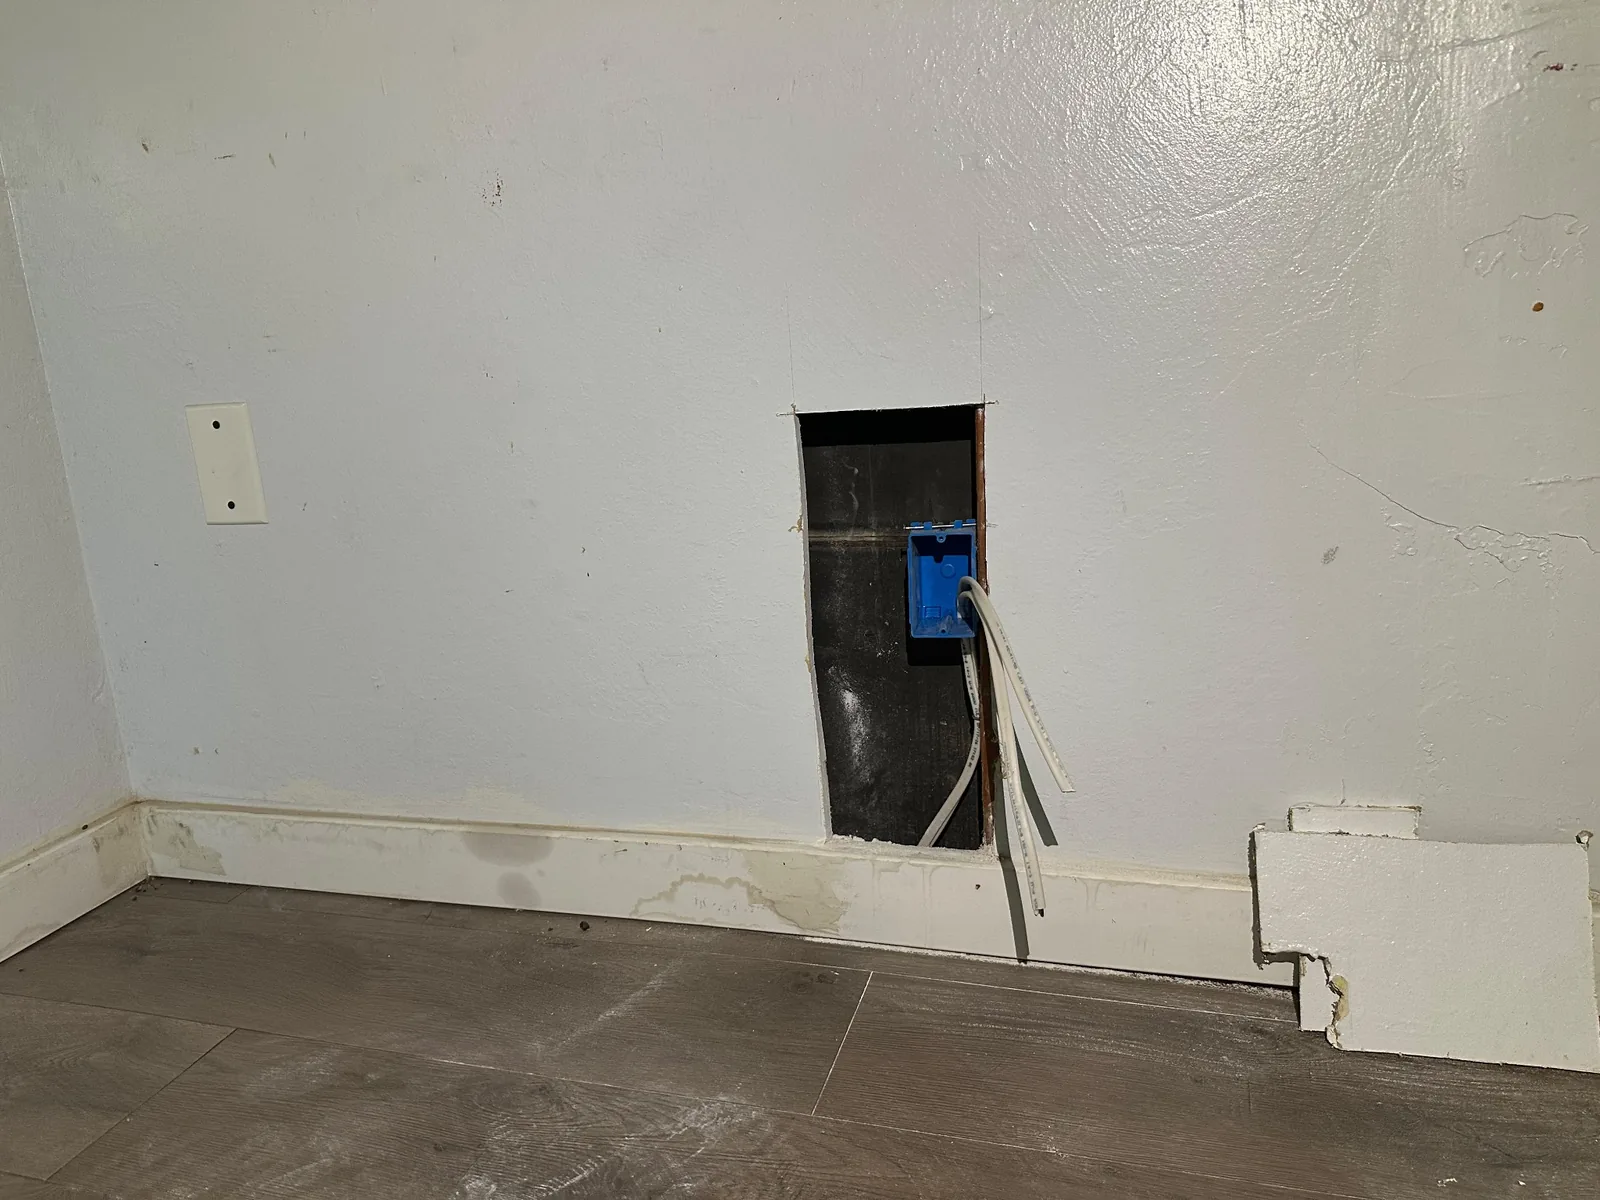
Electrical boxes and wiring prepared for new switches and outlets
Boxes and wiring prepared for the later finish stage.
This project • Phase 1 only

Phase 1 Labor Cost

Approximately $5,000

The labor for the first stage of this particular project was approximately $5,000. This is not a standard rewiring price, advertised rate, estimate for another home or guaranteed cost.

Actual rewiring costs vary with the size and layout of the house, access through the attic or crawl space, existing wiring conditions, number of electrical locations, amount of access work required and the overall electrical scope.

Current status

What’s Next

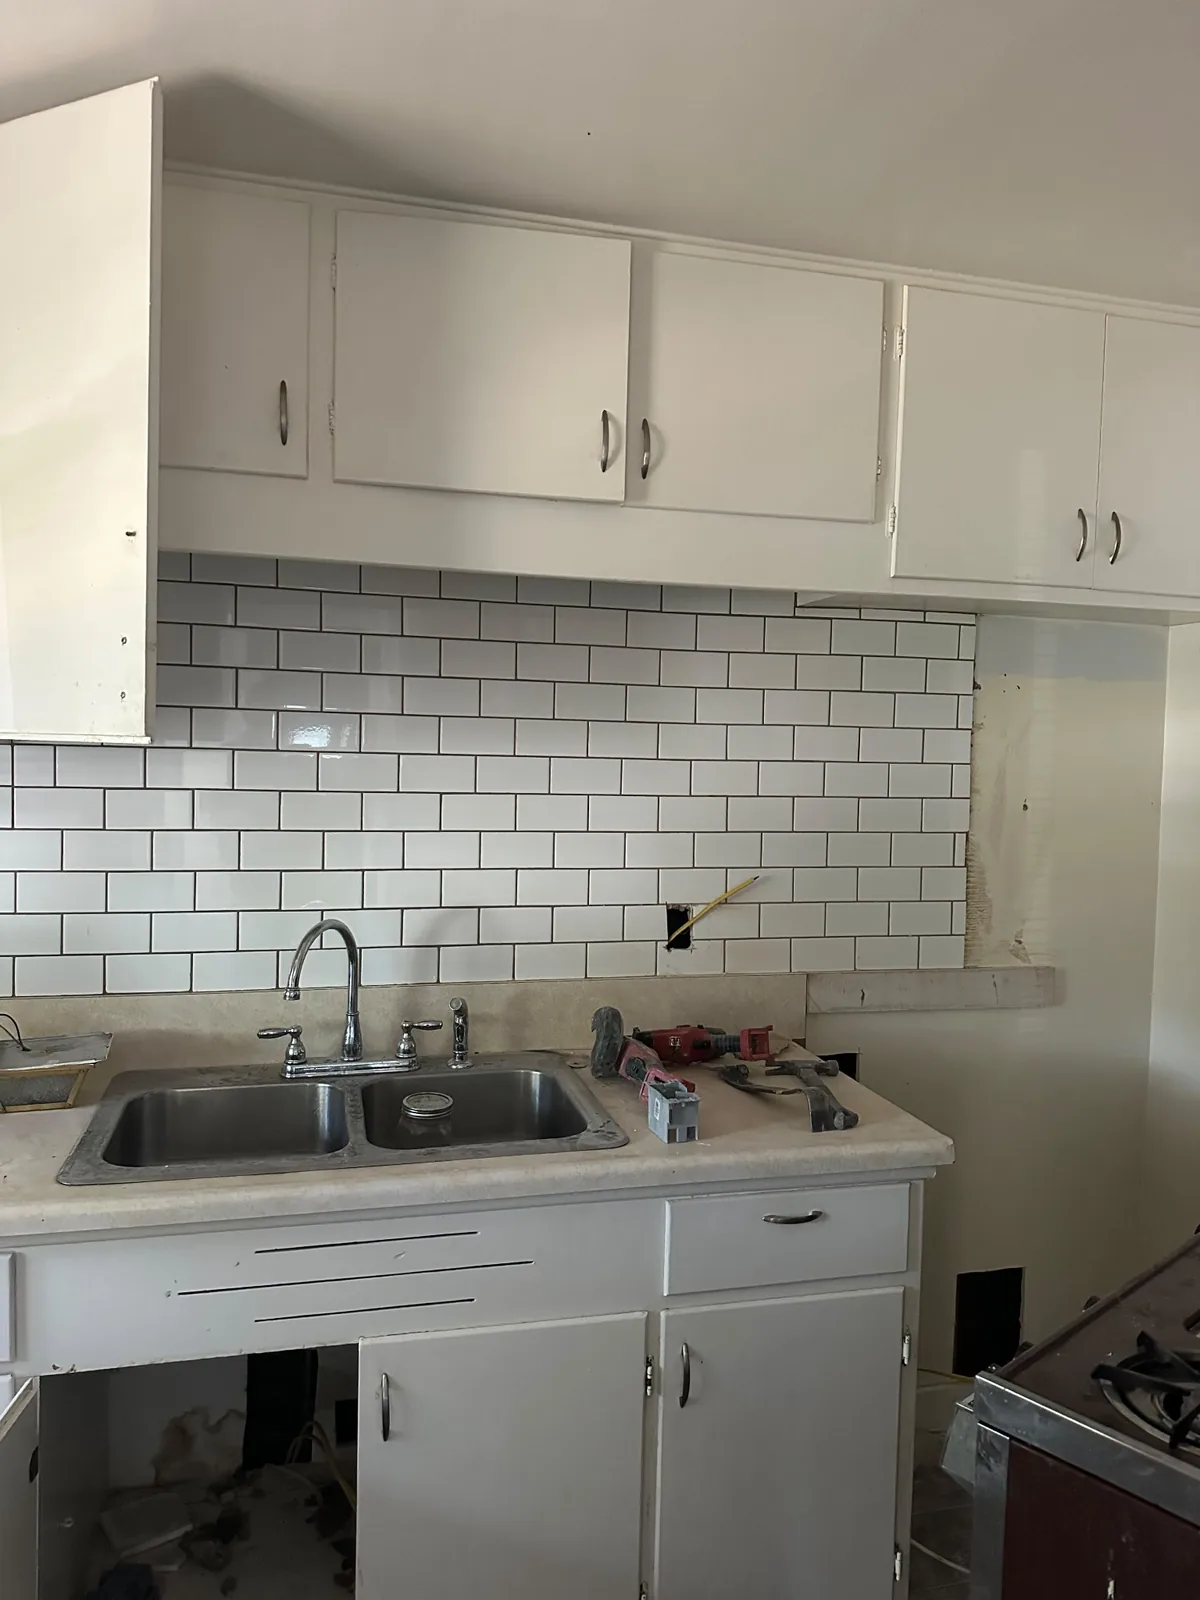
1. Repair and paint

Wall and ceiling openings will be repaired and the finished surfaces painted before device installation.

2. Install devices

The next electrical phase will include outlets and switches at the prepared locations.

3. Finish lighting work

Light fixtures will be installed as part of the final finish electrical work.

See more firsthand jobsite photography on I Build Energy’s Our Work page.

Planning Electrical Work in an Older Home?

If you are dealing with outdated wiring, ungrounded outlets, or considering a larger electrical renovation, I Build Energy can evaluate the existing system and discuss practical options for your home. The right scope depends on the actual wiring, access and project goals.